Friday, 13 December 2013

Not so secret santa advent calendar bunting

We are having secret Santa at our work Christmas do, with a budget on what to spend I decided to make most of the present. I had been looking at lots of Christmas bunting on pinterest and used various ones as my inspiration.

I cut the flags so that they were 6 1/2 inches long when cut (the width of my ruler) and the pockets were 4 inches long.


On my first attempt I cut all the triangles out and then tried to hem the cream pocket triangles but this proved too tricky as the fabric was too small for me to feed it into the roll hem foot so I started again and hemmed my strip of fabric and then cut it. I also used the pearl pens to add the numbers, much better to do it before stitching it as I did make a bit of a bloop on one so thankfully had a spare and didn't have to do any unpicking.


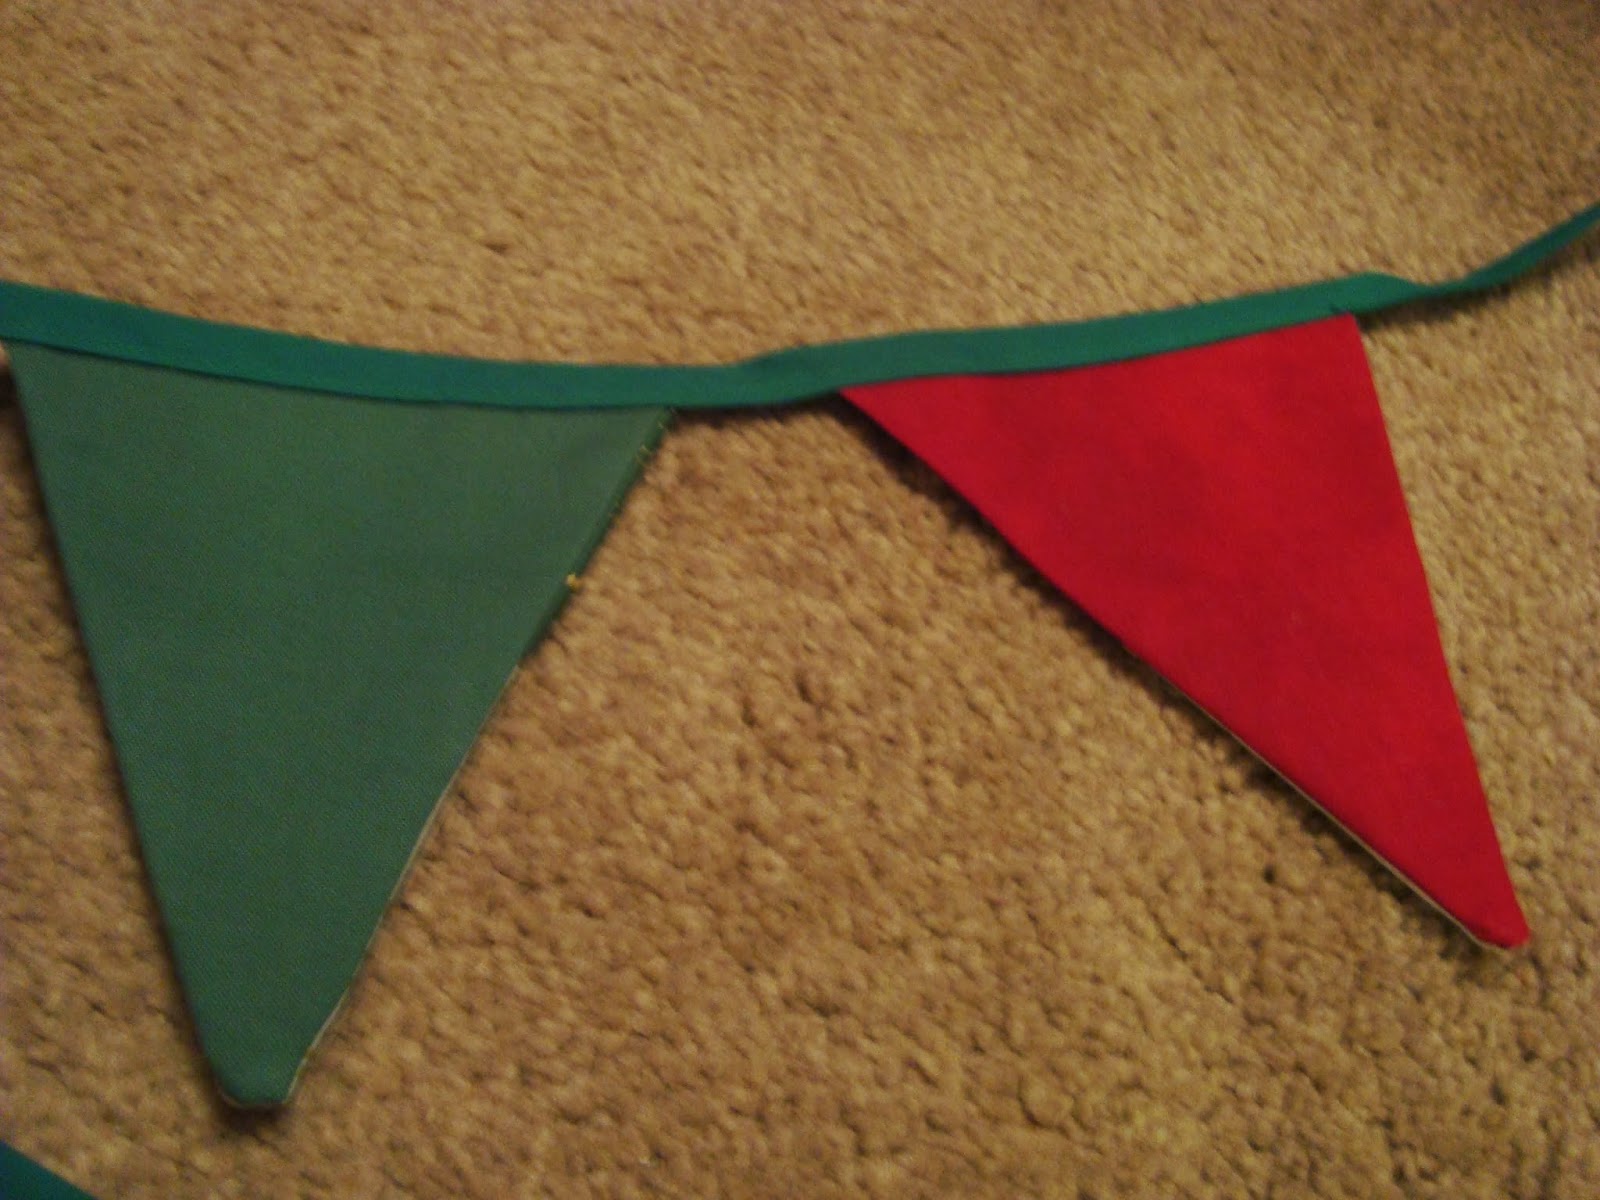
It was easy to put together with layering the 3 pieces of fabric stitching, trimming and then turning the right way out. I pressed them at this point to get them flat (on the wrong side so I didn't melt the numbers). I trimmed the top and added the binding. I used shop bought bias binding that I had in my stash and ironed it in half before slipping the flags in. I used a simple running stitch to hold it together.


Back of flags, alternate green and red

With sweets inside


Apart from my numbering I was rather pleased with the way it turned out. I think I just about kept to my £10 budget, including a few sweets - let's hope the receiver likes home made pressies.

Thursday, 28 November 2013

Quilt number 6


I started this quilt back in February which may sound odd for a Christmas quilt but I know what I am like trying to get my projects finished so thought this would give me the best chance. As an added bonus Christmas fabrics tend to be quite cheap at that time of year!

The pattern for this was taken from a magazine and was quite straight forward. Because I had picked lots of gorgeous prints I wanted to show them off in the simplest way possible.  I also reduced the number of blocks I was going to use with mine as I wanted a smaller lap quilt not a large bed quilt.

Due to the intensity of the colours of the fabric and the white border I did take the time to wash them first prior cutting and sewing as I did not want them to bleed when washed once pieced. I don't always do this even though I know I should so far I have been lucky and not had any disasters. I am not sure if you can tell but the white fabric has tiny white stars all over it.

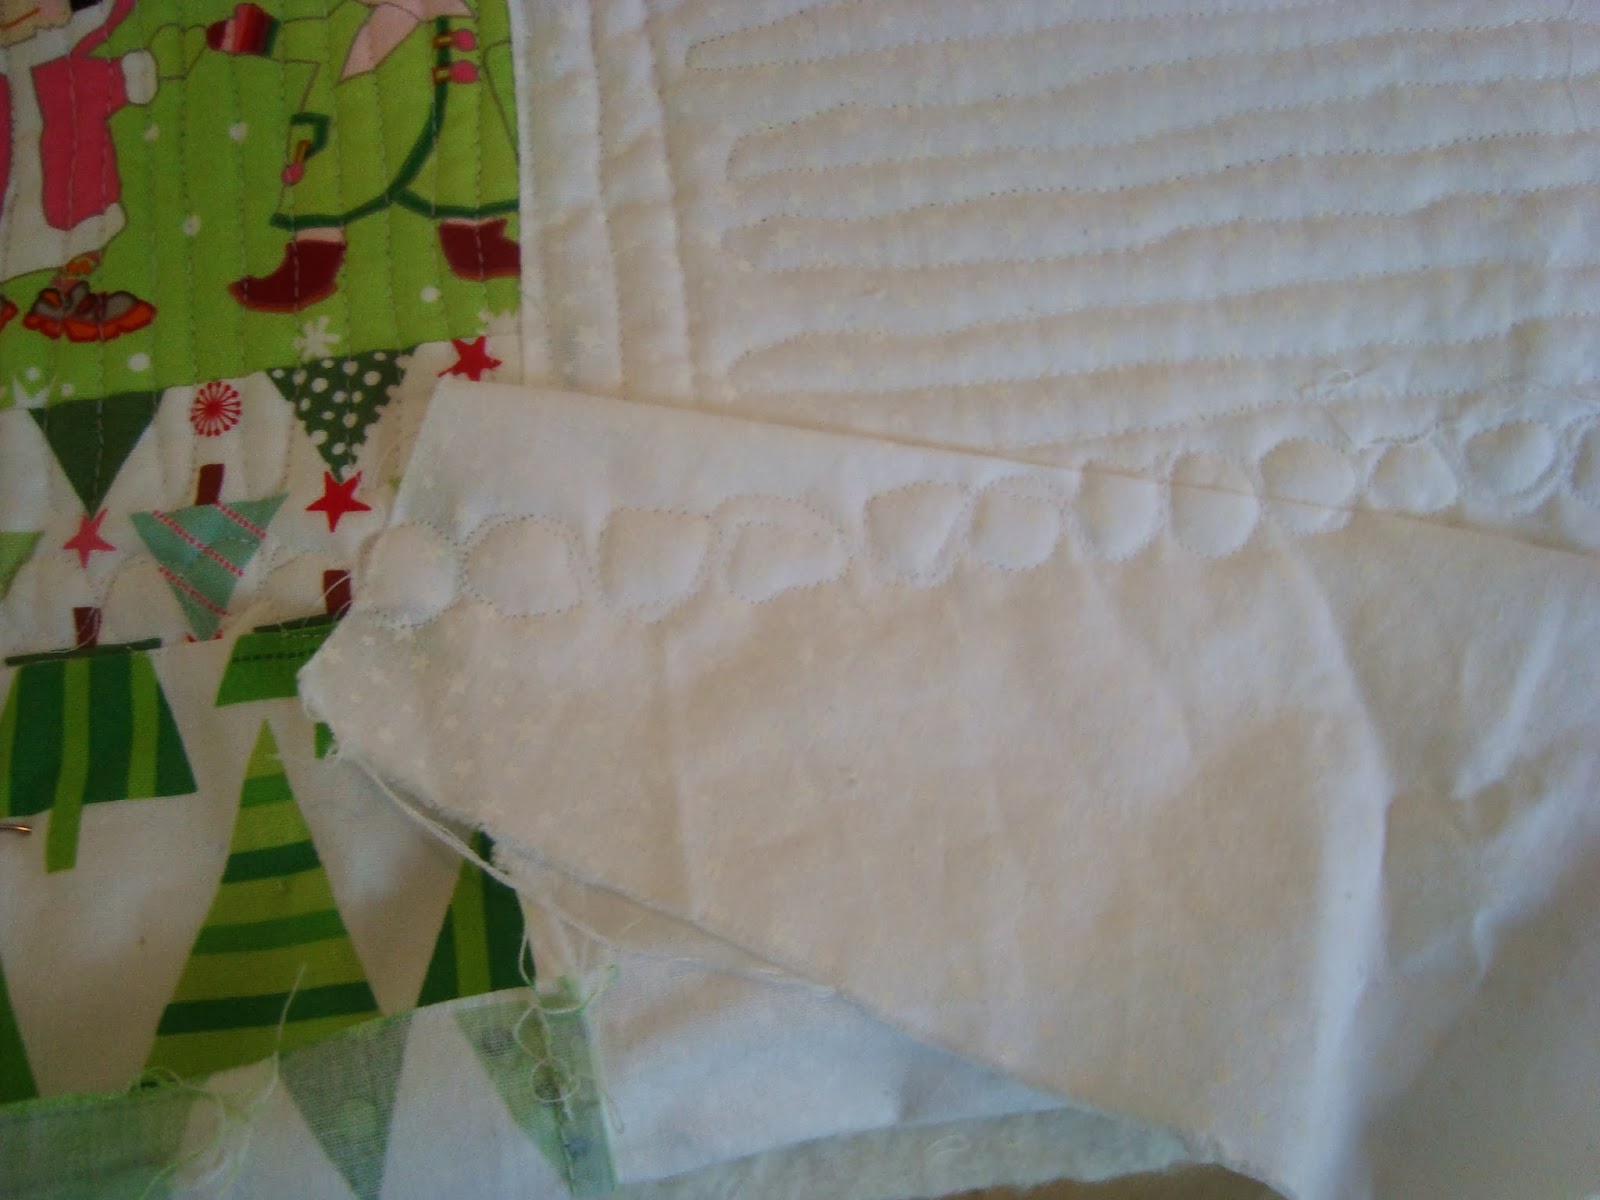
The cutting and piecing was quick with this, the only thing I did was a bit of fussy cutting on the people (my first cuts cut the top of their heads off, not a good look).  Once I have pieced my top and put a border on it I was frustrated to find that the width was just slightly wider than a standard fabric width so I did a strip of quilting on the back with all the off cuts.


The batting used was a mix of recycled cotton and polyester.

When it came to quilting I tried my hand at free motion quilting for the first time. I invested in a darning foot to make it easier to do.  I had mixed success with my sewing machine, I have had the same machine for the past 10+ years and always loved it (a Janome excel 5024). When I looked into it I did find that I was able to lower the feed dogs so the fabric slid easily but what my machine is missing is a needle up/down function, not sure why but more often than not when I paused the machine seemed to finish with the needle up - not what you want when quilting :(  Oh well, I'm not about to replace the machine yet.

I kept my quilting design easy as it was my first attempt, the reality is that I should have taken the time to practise first on some off cuts.  I also got about halfway through and thought I should invest in some gloves as I was finding the gripping difficult. I found a good pair on amazon that arrived promptly for me to finish the rest of the quilt.

When I did the border I changed the pattern of the quilting to a circle design, to look a bit like snow balls. I thought it was going well until I had a bit of a disaster and got the fabric caught up in itself - twice! So out came the unpicker and I started again on it.


I finished the quilt with some dotty binding - just in time for Christmas :)

Wednesday, 20 November 2013

Cushions

Having finally got the lounge sorted in terms of furniture, decorating and curtains (tedious post to follow later on those!) my other half decided that we needed cushions to match. Having seen the cost of them on the high street and wanting to some to match I stupidly volunteered to make them.  The first was a straight forward stripey one that was in exactly the same fabric as the curtains and was done quickly mainly to keep my other half happy that I was actually going to do them.

The next was more ambitious and I decided to do the applique striped flower motif, being new to applique I found myself using the wrong type of bonding web and had a frustrating time with the sewing machine needle getting gummed up and the thread breaking.  To make matters worse I then tried piping round the edges - I still haven't worked out how to neatly turn the corners with the piping and they ended up a disaster. I then cheated and covered over the corners so that they wouldn't show.

The flower cushion took rather a long time to make and other half was getting more and more annoyed with the lack of progress so I went back to simpler designs for the next two to get them done.


I still have a couple more to do but this is not going to be for a little while, too many other UFO's to be finishing off.

Sunday, 3 November 2013

Crochet - hat and scarf

About a year ago I went on a day course for beginners crochet, I had learnt the very basics as a child and had a couple of attempts at teaching myself from books/pc over the years but had never managed to figure out how to turn and count the stitches.  The course was run from "Hometown" in Rochester...you may notice a trend in the frequency that I mention this shop but you really should call in if you get the opportunity as it is a great place.  I learnt the basic stitches on this course as well as how to turn and go on to the next row. It also went through how to read a pattern, including pictorial ones.

Coming away with bags on confidence I attempted my first item and made a hat and scarf set for my daughter. It didn't turn out that well, I couldn't work out where my rows ended resulting in me just crocheting in a spiral, I ended up guessing when to add stitches and made it a little big so had to decrease stitches before finishing it.  I did enjoy making the flower but didn't get all the petals looking the same.  The scarf was made up as I went along, just practicing different stitches.  In hindsight pale pink is not a great colour for a lively 9 yr old and it soon got muddy, thankfully MIL was on hand to get it looking like new again.

The good news was that my daughter's teacher liked it and she made a request for a brooch of the flower, in return for a jar of homemade jam...good trade!


Think I may have made the tassels a bit long
A brooch for the teacher