Showing posts with label Christmas. Show all posts

Monday, 15 December 2014

Christmas Stocking - Ugandan style

I had the pleasure of visiting my friend in Uganda in October and loved the fabrics that they had. The only issue was that you had to buy them in 3 metre units as this was the standard to make up a dress so I expect I will be making lots of things in the future with the fabrics (of which I bought 4 different types and my friend gave me her left over fabric).  However she did request that I make her a Christmas stocking, which of course I was happy to oblige.  As per normal this project was rushed on account of needing to get it posted to another friend to take out.


I cut out the main fabric first and then applied some fusable webbing to it to make it stiffer. Next was the applique and ribbon detail. I used cookie cutter applique with the african fabric onto a plan fabric that was already in my stash. I also added a small ribbon in order for it to be hung up.

I had to trim the seams to get it to lie flat (even then it was not as neat as some of my other ones)  for the finishing touch I made her initial letter for her out of a different fabric, one that is special as the cushions at a lodge we stayed at were the same.


Tuesday, 31 December 2013

Quilt number 7

I went on another 1 day course at Hometown in Rochester, this time it was a quick trip around the world and was led by Kate Higgens. It was set so we could make the entire quilt topper in a day, it started at 10.30 and I just had mine finished by 4.30.  Given the season I thought I would do another Christmas quilt, feeling optimistic about completing it.  The quilt, excluding borders, binding and backing fabric uses 6 fat quarters - it was surprising at the end to see how large the quilt was.

It was a very quick way of piecing, cutting your quarters into strips, then stitching them together before cutting them in the opposite direction to get patchwork strips. There is no unpicking like with some quilts as you cut on the seam of stitches and then in the middle of the piece alternatively.  The cutting did require some concentration, I managed to cut one piece wrongly but thankfully the pattern allowed for 2 mistakes.  The quilt was then made in 2 halfs and then the seams matched and stiched together.

I feel this description is rather rambling but I forgot to take photo's as I was going along. Anyway I did a plain fabric for the inner border that you cut 1 inch wide and then used one of the lighter fabrics for the outer border.


I was pleasantly surprised with the neatness of the piecing, although it was not that difficult to do. In addition there was no seam matching until you pieced the 2 halves together.

Thankfully I had plenty of the light gold star fabric left for the backing and used some 30/70 polyester/cotton for the batting.  This one was a Christmas present, my MIL was very pleased to receive it.


Friday, 13 December 2013

Not so secret santa advent calendar bunting

We are having secret Santa at our work Christmas do, with a budget on what to spend I decided to make most of the present. I had been looking at lots of Christmas bunting on pinterest and used various ones as my inspiration.

I cut the flags so that they were 6 1/2 inches long when cut (the width of my ruler) and the pockets were 4 inches long.


On my first attempt I cut all the triangles out and then tried to hem the cream pocket triangles but this proved too tricky as the fabric was too small for me to feed it into the roll hem foot so I started again and hemmed my strip of fabric and then cut it. I also used the pearl pens to add the numbers, much better to do it before stitching it as I did make a bit of a bloop on one so thankfully had a spare and didn't have to do any unpicking.


It was easy to put together with layering the 3 pieces of fabric stitching, trimming and then turning the right way out. I pressed them at this point to get them flat (on the wrong side so I didn't melt the numbers). I trimmed the top and added the binding. I used shop bought bias binding that I had in my stash and ironed it in half before slipping the flags in. I used a simple running stitch to hold it together.


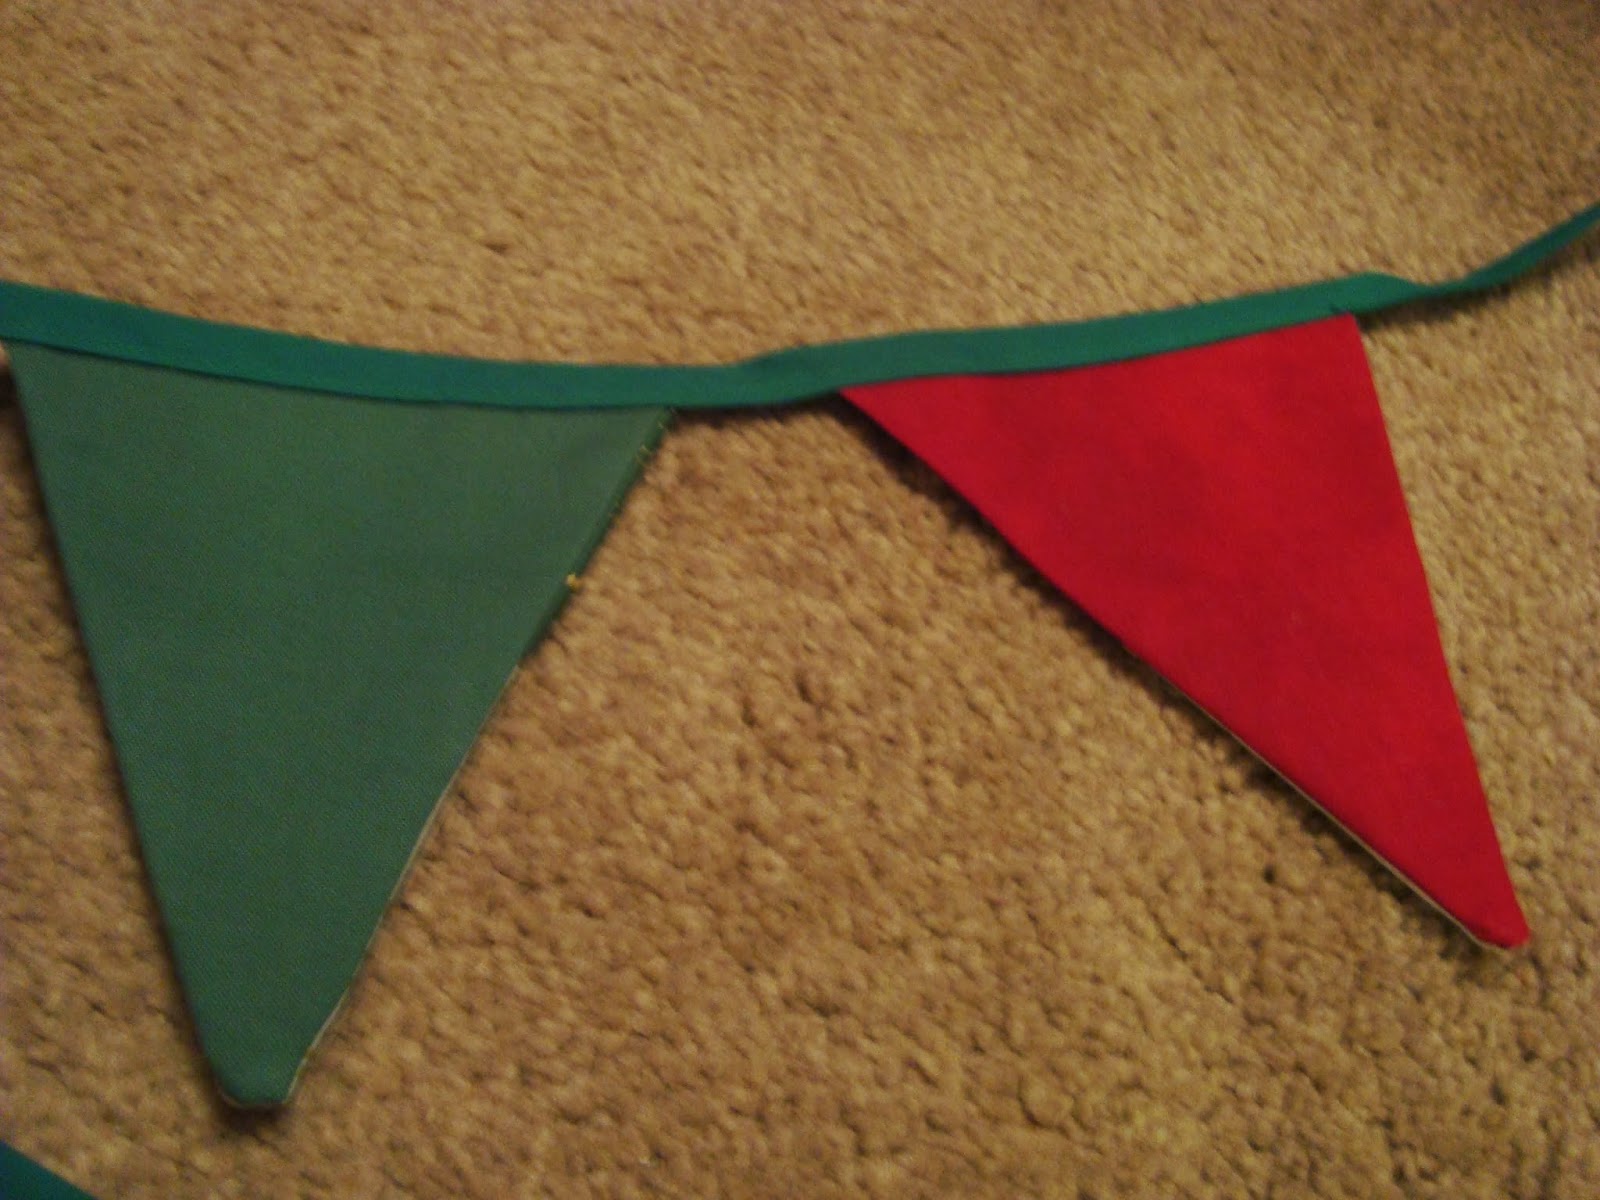
Back of flags, alternate green and red

With sweets inside


Apart from my numbering I was rather pleased with the way it turned out. I think I just about kept to my £10 budget, including a few sweets - let's hope the receiver likes home made pressies.

Thursday, 28 November 2013

Quilt number 6


I started this quilt back in February which may sound odd for a Christmas quilt but I know what I am like trying to get my projects finished so thought this would give me the best chance. As an added bonus Christmas fabrics tend to be quite cheap at that time of year!

The pattern for this was taken from a magazine and was quite straight forward. Because I had picked lots of gorgeous prints I wanted to show them off in the simplest way possible.  I also reduced the number of blocks I was going to use with mine as I wanted a smaller lap quilt not a large bed quilt.

Due to the intensity of the colours of the fabric and the white border I did take the time to wash them first prior cutting and sewing as I did not want them to bleed when washed once pieced. I don't always do this even though I know I should so far I have been lucky and not had any disasters. I am not sure if you can tell but the white fabric has tiny white stars all over it.

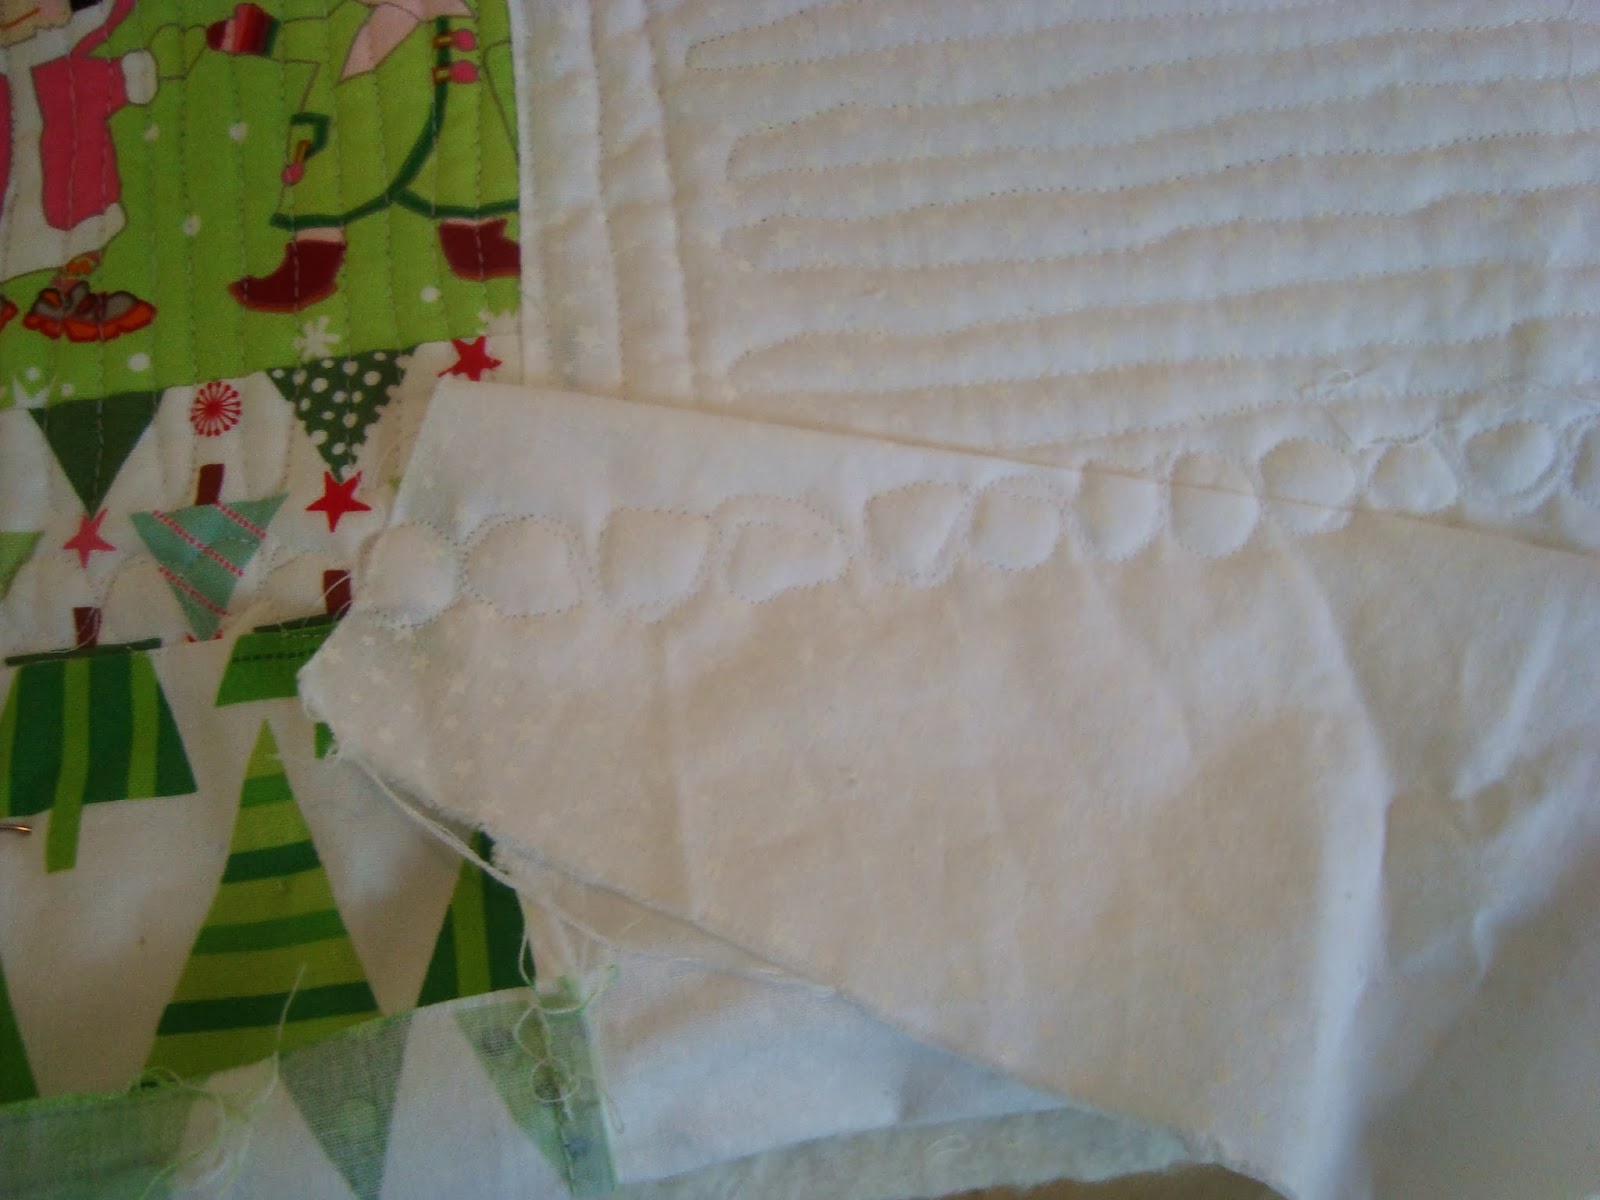
The cutting and piecing was quick with this, the only thing I did was a bit of fussy cutting on the people (my first cuts cut the top of their heads off, not a good look).  Once I have pieced my top and put a border on it I was frustrated to find that the width was just slightly wider than a standard fabric width so I did a strip of quilting on the back with all the off cuts.


The batting used was a mix of recycled cotton and polyester.

When it came to quilting I tried my hand at free motion quilting for the first time. I invested in a darning foot to make it easier to do.  I had mixed success with my sewing machine, I have had the same machine for the past 10+ years and always loved it (a Janome excel 5024). When I looked into it I did find that I was able to lower the feed dogs so the fabric slid easily but what my machine is missing is a needle up/down function, not sure why but more often than not when I paused the machine seemed to finish with the needle up - not what you want when quilting :(  Oh well, I'm not about to replace the machine yet.

I kept my quilting design easy as it was my first attempt, the reality is that I should have taken the time to practise first on some off cuts.  I also got about halfway through and thought I should invest in some gloves as I was finding the gripping difficult. I found a good pair on amazon that arrived promptly for me to finish the rest of the quilt.

When I did the border I changed the pattern of the quilting to a circle design, to look a bit like snow balls. I thought it was going well until I had a bit of a disaster and got the fabric caught up in itself - twice! So out came the unpicker and I started again on it.


I finished the quilt with some dotty binding - just in time for Christmas :)

Sunday, 3 November 2013

Gift tags

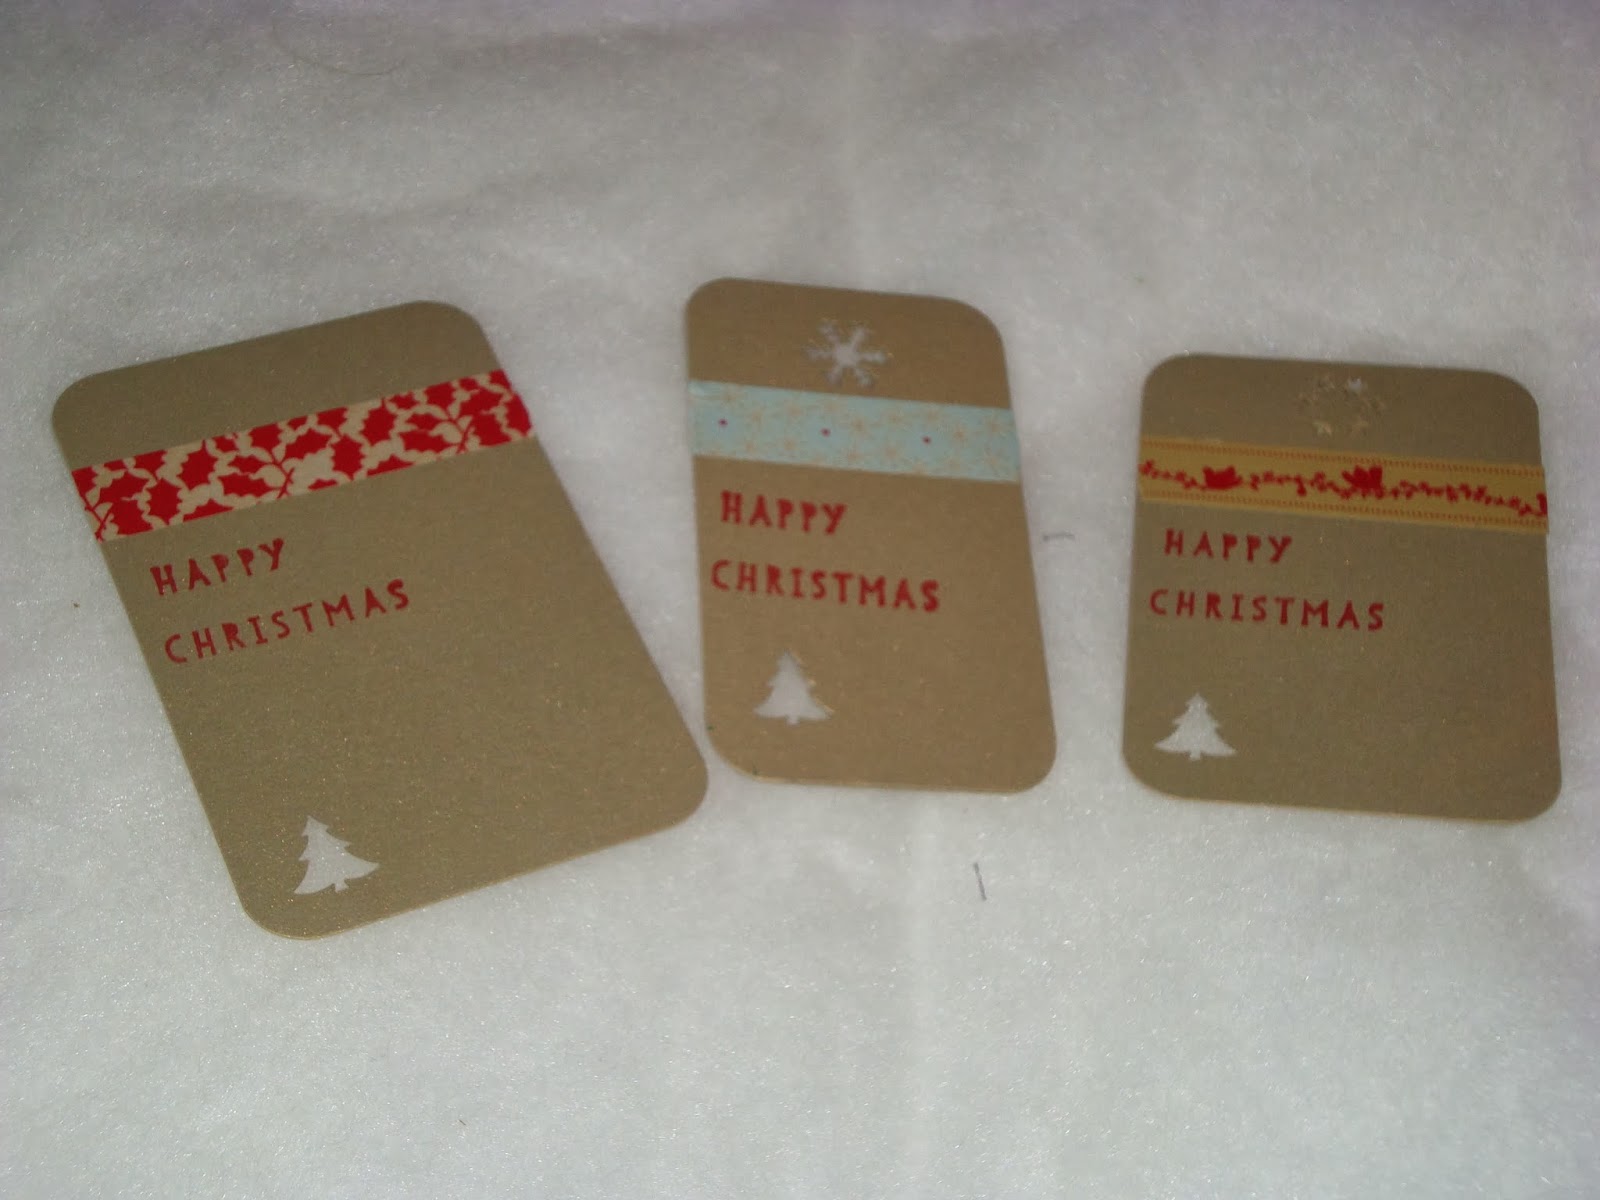
This was a rainy afternoon project where I fancied trying my hand at making some gift tags in preparation for Christmas.  I had picked up the washi tape in the sales last January from John Lewis and then picked up some punched the other day. I kept them simple but used metallic card.  I loved the corner punch, a simple thing that turn a square homemade looking cutout into something a bit better.  This was my first venture into paper crafting and stamping, I am sure there are several techniques that could have made these look more professional but I am happy with my first attempt.