This cushion was sold as a kit from Vervaco but was actually only the cross stitch itself so I had to find the cushion and backing fabric to make it up. The kit was a present and not the type that I would normally pick but I still completed it. The kit came with plenty of yarns, even though it may not look it at times, there were plenty of every colour. The instructions also recommend that you separate the yarns into their different colours at the start - I didn't do this straight away but wished I had, the greens were very close in colour as were the yellows. The kit was lacking a graph pattern to follow so you had to rely on the colour printed which was confusing at time and meant at times I had to wait for some natural light to complete sections. I did use the photo at times to try and guide me.
When making it up I didn't bother to make an opening, I figured that it wouldn't be the type of cushion that would be used much. The backing fabric was some I had in my stash following the making of cushions for the lounge.
This cushion is a little bit special as both my son and daughter had a go at completing some of it and it has inspired my daughter to get on with one of her tapestry kits that she had for Christmas.
Saturday, 25 January 2014
Chair covers
About 4 years ago we purchased some seats to go with a table that had kindly been given to us from my in-laws, at the time there was a limited selection of dining chairs in dark wood to match but we found some that went well. The seating was a plain beige colour which looked nice in the shop but sadly did not stand the test of time with a family with 2 kids and needless to say were getting pretty grim with dirt and stains.
Back in September my other half suggested taking them to an upholsterer to be recovered and was pleasantly surprised when I suggested that I do it myself. I managed to find some lovely fabric in John Lewis to fit in with our kitchen (Oak and Aubergine units) and I set to taking them apart. The seats came off relatively easily but the previous covers had been stapled in place very securely, it took a couple of evenings to take them off with my wrist aching at the end.
It was then very easy to cut a template from the cover out of the new fabric and then recover them. I invested in some fabric protector spray and gave them a good coat and soon they were looking like new.
The hardest part was finding some staples to fit the staple gun we had but a very helpful person in screwfix opened the box so I could try them for size in the store. I mention the names of the businesses I find useful in my blog not because I get any payback or commission from them (although that would be great!) but because I believe in giving credit where it is due and assist you my lovely readers to know where good places for sourcing things are.
Tuesday, 31 December 2013
Quilt number 7
I went on another 1 day course at Hometown in Rochester, this time it was a quick trip around the world and was led by Kate Higgens. It was set so we could make the entire quilt topper in a day, it started at 10.30 and I just had mine finished by 4.30. Given the season I thought I would do another Christmas quilt, feeling optimistic about completing it. The quilt, excluding borders, binding and backing fabric uses 6 fat quarters - it was surprising at the end to see how large the quilt was.
It was a very quick way of piecing, cutting your quarters into strips, then stitching them together before cutting them in the opposite direction to get patchwork strips. There is no unpicking like with some quilts as you cut on the seam of stitches and then in the middle of the piece alternatively. The cutting did require some concentration, I managed to cut one piece wrongly but thankfully the pattern allowed for 2 mistakes. The quilt was then made in 2 halfs and then the seams matched and stiched together.
I feel this description is rather rambling but I forgot to take photo's as I was going along. Anyway I did a plain fabric for the inner border that you cut 1 inch wide and then used one of the lighter fabrics for the outer border.
I was pleasantly surprised with the neatness of the piecing, although it was not that difficult to do. In addition there was no seam matching until you pieced the 2 halves together.
Thankfully I had plenty of the light gold star fabric left for the backing and used some 30/70 polyester/cotton for the batting. This one was a Christmas present, my MIL was very pleased to receive it.
I feel this description is rather rambling but I forgot to take photo's as I was going along. Anyway I did a plain fabric for the inner border that you cut 1 inch wide and then used one of the lighter fabrics for the outer border.
I was pleasantly surprised with the neatness of the piecing, although it was not that difficult to do. In addition there was no seam matching until you pieced the 2 halves together.
Thankfully I had plenty of the light gold star fabric left for the backing and used some 30/70 polyester/cotton for the batting. This one was a Christmas present, my MIL was very pleased to receive it.
Friday, 13 December 2013
Not so secret santa advent calendar bunting
We are having secret Santa at our work Christmas do, with a budget on what to spend I decided to make most of the present. I had been looking at lots of Christmas bunting on pinterest and used various ones as my inspiration.
I cut the flags so that they were 6 1/2 inches long when cut (the width of my ruler) and the pockets were 4 inches long.
On my first attempt I cut all the triangles out and then tried to hem the cream pocket triangles but this proved too tricky as the fabric was too small for me to feed it into the roll hem foot so I started again and hemmed my strip of fabric and then cut it. I also used the pearl pens to add the numbers, much better to do it before stitching it as I did make a bit of a bloop on one so thankfully had a spare and didn't have to do any unpicking.
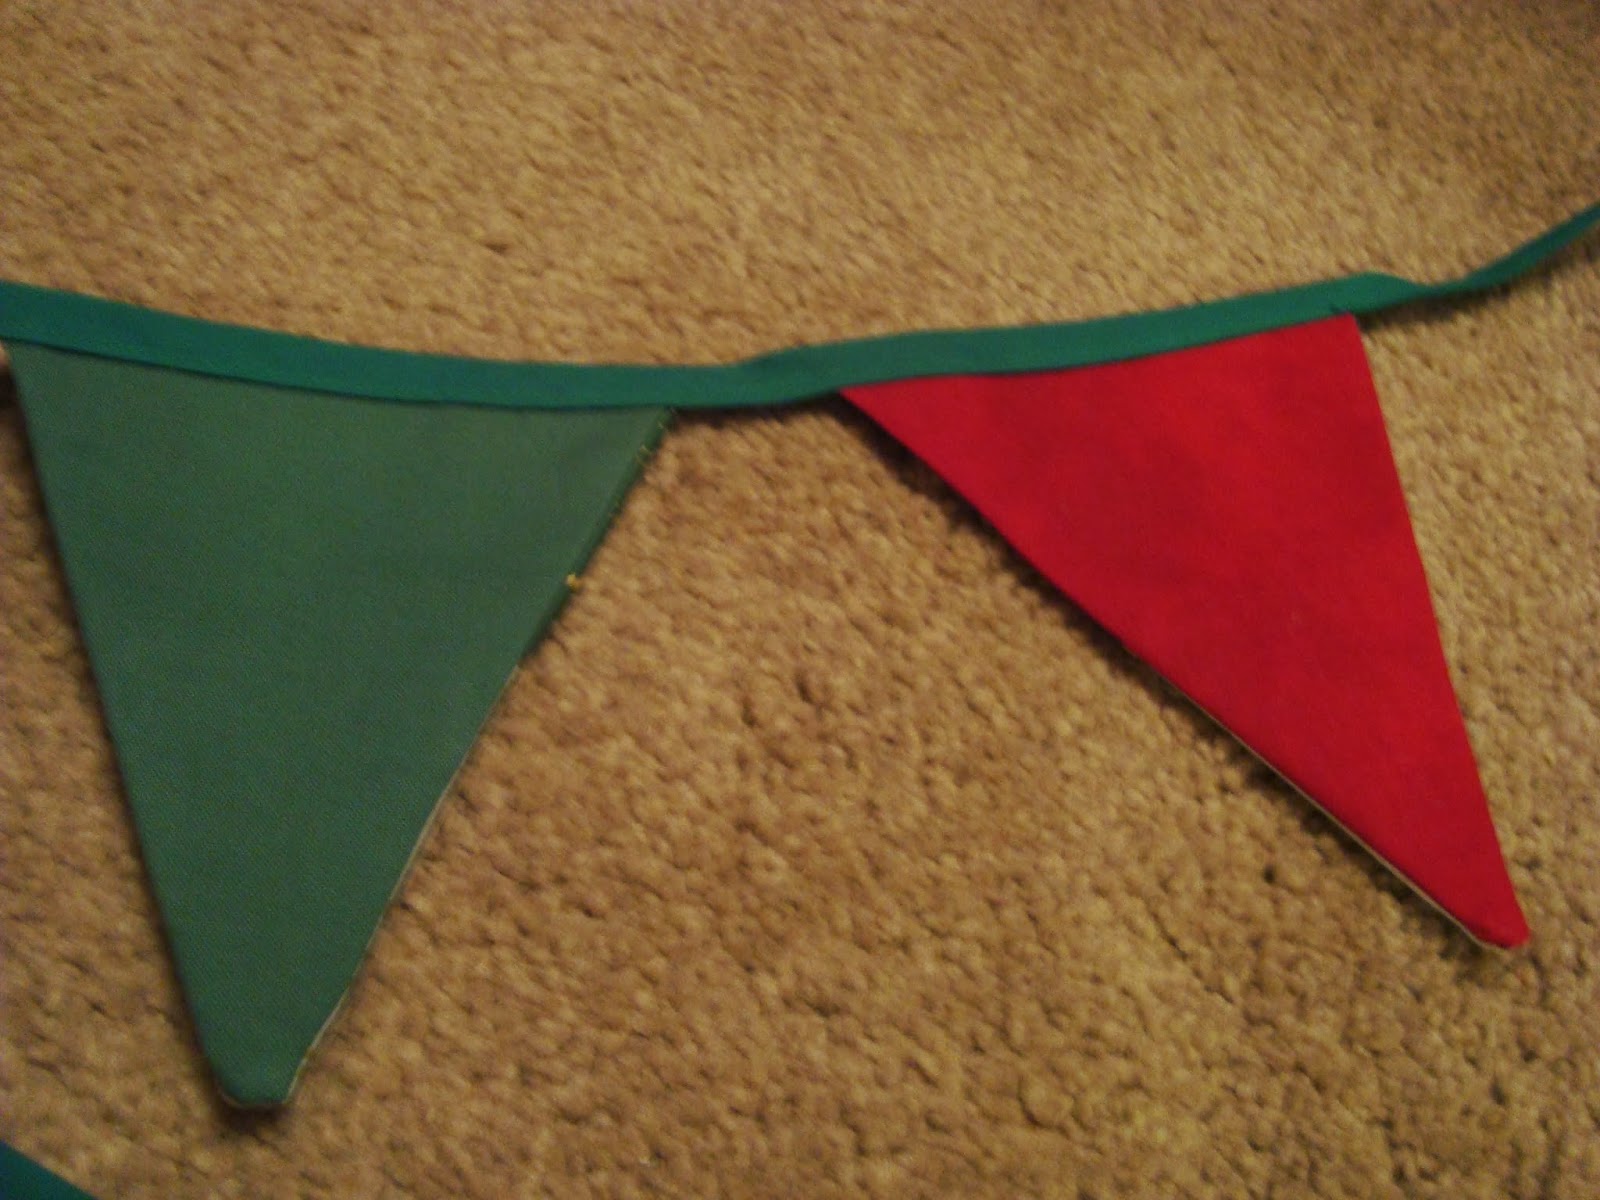
It was easy to put together with layering the 3 pieces of fabric stitching, trimming and then turning the right way out. I pressed them at this point to get them flat (on the wrong side so I didn't melt the numbers). I trimmed the top and added the binding. I used shop bought bias binding that I had in my stash and ironed it in half before slipping the flags in. I used a simple running stitch to hold it together.
Apart from my numbering I was rather pleased with the way it turned out. I think I just about kept to my £10 budget, including a few sweets - let's hope the receiver likes home made pressies.
I cut the flags so that they were 6 1/2 inches long when cut (the width of my ruler) and the pockets were 4 inches long.
On my first attempt I cut all the triangles out and then tried to hem the cream pocket triangles but this proved too tricky as the fabric was too small for me to feed it into the roll hem foot so I started again and hemmed my strip of fabric and then cut it. I also used the pearl pens to add the numbers, much better to do it before stitching it as I did make a bit of a bloop on one so thankfully had a spare and didn't have to do any unpicking.
It was easy to put together with layering the 3 pieces of fabric stitching, trimming and then turning the right way out. I pressed them at this point to get them flat (on the wrong side so I didn't melt the numbers). I trimmed the top and added the binding. I used shop bought bias binding that I had in my stash and ironed it in half before slipping the flags in. I used a simple running stitch to hold it together.
| Back of flags, alternate green and red |
| With sweets inside |
Apart from my numbering I was rather pleased with the way it turned out. I think I just about kept to my £10 budget, including a few sweets - let's hope the receiver likes home made pressies.
Subscribe to:
Posts (Atom)